How to add an Exchange account in Outlook 2013, 2016 or 2019
You must have an Exchange email account and a valid copy of Outlook 2013, 2016 or 2019.
Unlike previous versions of Outlook, which allowed you to add an e-mail account either manually or automatically, Outlook 2016 and 2019 only connect to Exchange using Autodiscover, which is the Exchange service that configures accounts settings automatically.
Once you have confirmed that your Autodiscover record has been created, follow the steps below to add your Exchange account to Outlook 2016 or 2019.
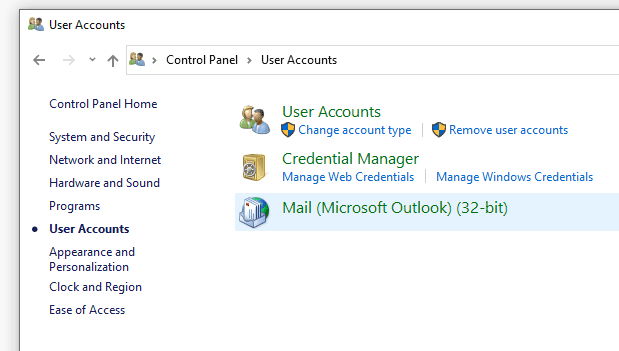
1. Open your Windows Control Panel and select the Mail icon.
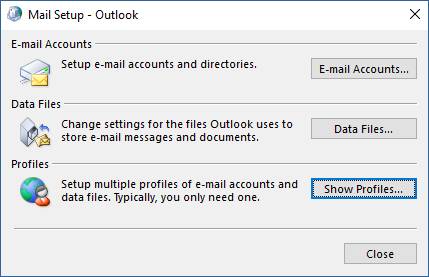
2. Select Show Profiles
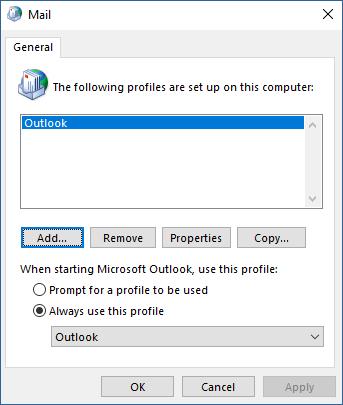
3. Click Add
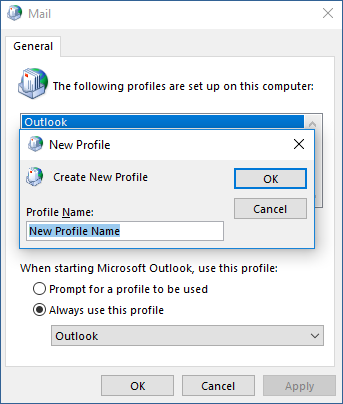
4. Enter a name for your new profile in the Profile Name box. Click OK.
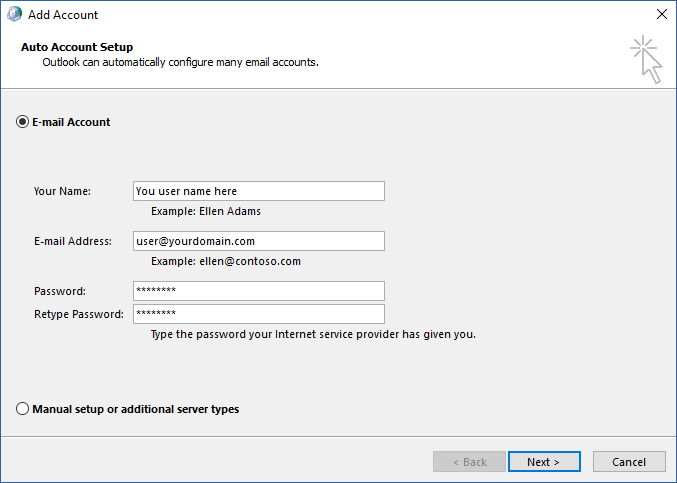
5. Click the E-mail Account radio button, and fill in the Your Name, E-mail Address, Password and Retype Password fields. Click Next.
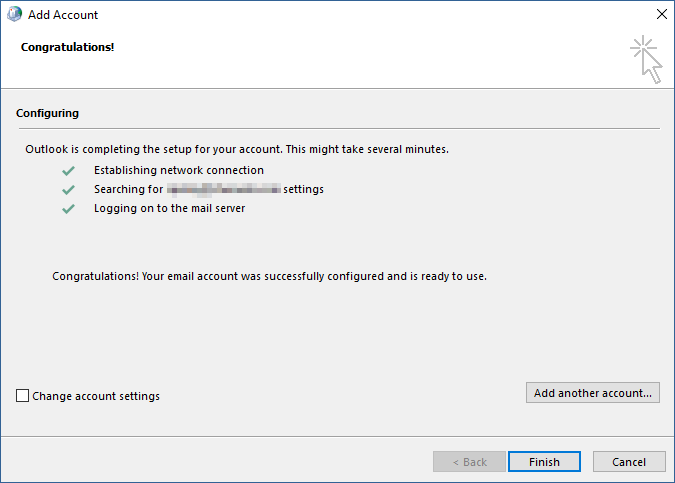
6. Outlook will connect to Autodiscover, and configure your settings automatically. When you see three green checkmarks, click Finish.
Set up Exchange account access using Mac OS X 10.10 or later
If you’re running Mac OS X version 10.10 or later, follow these steps to set up an Exchange email account:
1. Open Mail, and then do one of the following:
- If you’ve never used Mail to set up an email account, the Welcome to Mail page opens. Go to step 2.
- If you’ve used Mail to create email accounts, select Mail > Add Account.
2. Select Exchange > Continue.
3. Enter the name, email address and password for your Exchange account > Sign In.
4. Choose the Mac apps you want to use with this account. Available choices are Mail, Contacts, Calendar, Reminders, and Notes.
5. Click Done.
If the Mail program isn’t able to set up your account automatically, wait a few minutes or a few hours, and then repeat these steps. If after repeating the steps Mail still isn’t able to set up your account automatically, please contact support at [email protected] or call 603-766-4680.